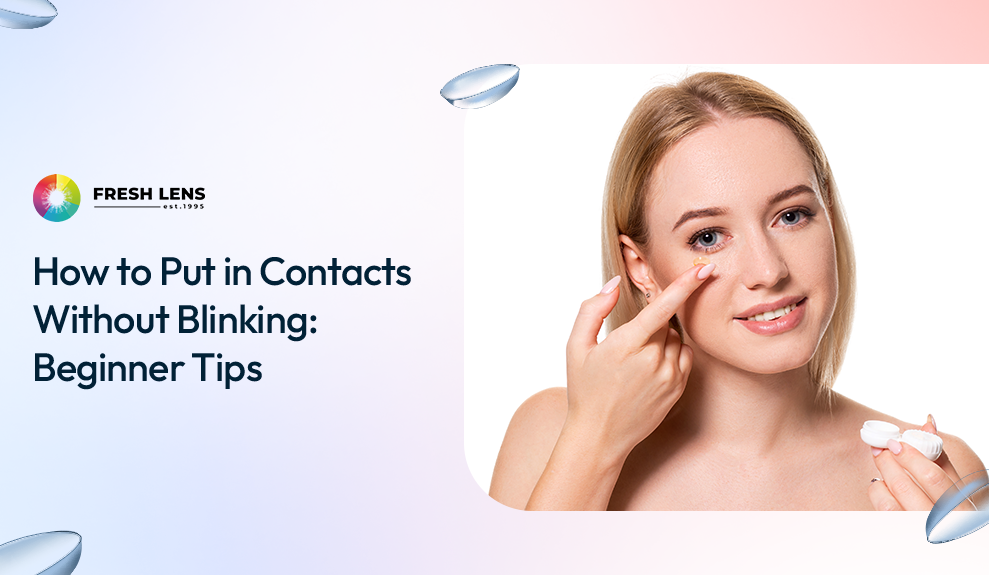
Putting in contact lenses can be challenging for new users, especially when your eyes instinctively blink at the worst moment. Blinking is a natural reflex to protect your eyes, but it can make inserting contacts frustrating. The good news is that with some practice and the right techniques, inserting contacts without blinking is absolutely achievable.
This beginner’s guide will walk you through understanding why the blinking happens and provide practical tips to overcome it. Soon, you’ll be placing your contacts with confidence and ease.
Why People Blink While Inserting Contact Lenses
Blinking when something comes close to your eye is an automatic defense mechanism. Our bodies are wired to blink to protect the eyes from potential harm or dryness. When you’re trying to insert a contact lens, your brain can misinterpret the approaching finger and lens as a threat, triggering a blink.
- Protective Reflex: Your eyelids act like bodyguards. A fast-moving finger (even holding a contact lens) can trigger a blink reflex.
- Fear or Flinching: Many first-time wearers are nervous about touching their eye, causing them to blink instinctively.
- Dryness or Irritation: A dry or tired eye is more sensitive, increasing the urge to blink.
- Lack of Experience: If you're new to contacts, the unfamiliar motion of bringing something close to the eye can feel intimidating.
Well, it’s completely normal to experience excessive blinking at first. Recognizing what’s causing it helps you work toward a solution.
Top Causes of Blinking During Contact Lens Application
Here’s a quick breakdown of the most common blinking triggers:
- Involuntary Reflexes: Your eyes are designed to protect themselves, even from you.
- Nervousness: The fear of doing something wrong can keep your blink reflex on high alert.
- Dry or Tired Eyes: Less moisture means more blinking. Screen time and lack of sleep make this worse.
- Incorrect Technique: If you’re not holding your eyelids firmly or approaching the eye too quickly, blinking is more likely.
Let’s move on to how to address these challenges, step-by-step.

Instructions for Inserting Contacts Without Blinking
Follow these step-by-step instructions to put in your contacts smoothly. Remember, the key is to go slow and steady:
- Wash and Dry Your Hands: Always start with clean hands. Wash with mild soap and water, then dry completely with a lint-free towel. This prevents germs from irritating and reduces the chance of any dust or lint getting on your lens.
- Prepare the Lens Properly: Place the contact lens on the tip of your index finger on your dominant hand. Check that the lens isn’t inside out; it should look like a perfect, smooth-sided bowl. (If the edges flare out like a saucer, it’s inside out – flip it gently.) Also, ensure the lens is clean and moist (rinse with fresh solution if it dried out a bit).
- Hold Your Eyelids Open: Using your non-dominant hand, gently hold your upper eyelid by placing your index or middle finger on the base of your upper lashes and lifting upward. This will prevent you from blinking from the top. Simultaneously, use the middle finger of your dominant hand (the same hand with the lens on the index finger) to pull down your lower eyelid. This way, you’ve got both lids held and can keep the eye wide open.
- Focus Your Gaze Away: Here’s a trick: try not to stare directly at the approaching lens on your finger. Pick a point straight ahead or slightly upward to look at (some people like to do this in front of a mirror, focusing on a steady spot). By not watching your finger coming at your eye, you can reduce the reflex to blink. Some even find it helpful to lie down flat and look at the ceiling as they bring the lens to the eye, so gravity assists and the lens might settle more easily.
- Bring the Lens to Your Eye: With your eye open and gaze steady, slowly and calmly move the lens toward your eye. Aim for the center of your eye (the cornea). Try to keep your hand steady. If you feel yourself starting to blink, pause and take a breath – keep those eyelids held! It might help to gently touch the lens to the white of your eye first, then slide it into place over the cornea, as the white is slightly less sensitive than directly touching the center.
- Place the Lens and Release: When the lens touches your eye, you’ll feel a bit of wetness and a mild sensation; that’s normal. Don’t immediately blink hard. First, let go of the lower lid, then the upper lid slowly. The lens should stick to your eye (thanks to the moisture). After you release, blink slowly and gently a few times. This will help the lens center itself and smooth out under your eyelid. If it feels uncomfortable or out of place, don’t panic – a few slow blinks or looking around in different directions can help the lens settle. If it’s really off-center, you can use your fingertip to nudge it into place, or remove it and try again.
- Repeat for the Other Eye: Now that one side is done, take a short breather and congratulate yourself! Repeat the same process for your other eye, using the same hand positions (you might switch hands depending on which eye, or some people prefer using the same hand for both eyes – do what feels steady for you).
- Troubleshooting: If the lens falls off your finger or you blink it out, don’t worry. Simply rinse the lens with a fresh solution and try again. It can take a few attempts in the beginning. Avoid pushing too hard on your eye as contacts will adhere with a light touch as long as they’re moist. And remember to keep those eyelashes out of the way by holding the lids; stray lashes can cause the lens to snag or trigger blinking.
By following these instructions, you’re setting yourself up for success. It might feel like a lot of steps at first, but with repetition, this will become one quick, fluid routine each morning.

Practical Tips to Minimize Blinking When Inserting Lenses
Let’s dive into proven techniques that help reduce blinking reflexes and build comfort with contact lens insertion:
-
Practice Touching Your Eye (Safely)
With clean hands, gently touch the white of your eye. This helps your eyes get used to the sensation and reduces the blink reflex over time. -
Keep Eyes Moisturized
Use preservative-free rewetting drops a minute before insertion. This improves comfort and reduces blinking. If dryness is a persistent issue, consider trying Silicone Hydrogel Contact Lenses, which retain moisture longer. -
Try Different Angles
Some people do better inserting contacts while lying down, as gravity helps. Others prefer standing in front of a mirror. Try both and see what feels more natural. -
Avoid Watching the Finger
Looking straight ahead or upward distracts your reflexes from the approaching object. The less you anticipate the touch, the better. -
Steady Your Hand
Anchor your inserting hand by resting your pinky or wrist against your cheek. This gives you more control and less shaky movement, which reduces blinking. -
Firmly Hold Eyelids
Blurry or sudden blinking usually happens when the lids aren’t held firmly enough. Grip gently but confidently. -
Stay Calm and Breathe
Tension makes blinking worse. Take a deep breath, blink slowly, and approach again. This builds a rhythm and reduces fear. -
Try a Contact Lens Applicator
These small tools can help place the lens more precisely, especially if you're having trouble keeping your hand steady or avoiding blinking -
Experiment with Lens Types
If your lenses are drying out too quickly, switching to daily disposables or UV Contact Lenses might help. They’re more comfortable for many beginners. -
Blink Training Exercise
With your eye open and lids held, bring the lens close, stop just before contact, and pause. If you don’t blink, move closer next time. This gradually rewires your reflexes
Common Mistakes to Avoid
Here are a few common errors that trigger blinking and how to avoid them:
- Rushing: Move slowly. A sudden jab toward your eye will make you blink.
- Dry Eyes: If your eyes feel dry, pause and use eye drops first.
- Poor Lighting: Dim lighting can cause you to strain and blink more.
- Dirty Fingers: Oils or soap residue can irritate your eyes and make blinking worse.
Is It Ever Okay to Blink During Insertion?
Yes, blinking is natural. If you accidentally blink while inserting, don’t panic. Simply reset: rinse the lens, breathe, and try again. Over time, blinking will lessen as confidence builds.
When to Seek Help
If you’ve tried every trick and still struggle with blinking, it may be worth speaking to your eye doctor. They can:
- Check for dry eye syndrome
- Recommend a more comfortable lens type
- Demonstrate alternative techniques in person
Some people need a little extra guidance, and that’s okay.
Helpful Tools and Lens Options
Explore products that can support your lens experience:
- Silicone Hydrogel Contact Lenses: Comfortable for long wear, great oxygen flow
- UV Contact Lenses: Offer extra eye protection during outdoor activities
- Black Contacts: Stylish and visible, they can boost confidence in handling
- Eyeglasses: Always keep a backup pair in case your eyes need a break
Last Words
Learning how to insert contacts without blinking takes time and a little patience. Almost every new user goes through this stage. With the tips above, you’ll gain comfort, confidence, and eventually, muscle memory.
Don’t forget to always keep a pair of Eyeglasses handy for backup and give your eyes a rest when needed.
Soon enough, inserting contacts without blinking will become as routine as brushing your teeth. Stick with it, stay relaxed, and let Fresh Lens support your journey to comfortable, clear vision, no blinking necessary
Check out Our Other Similar Blogs:
How to Put in Toric Contact Lenses


